1. Start with the locating strategy
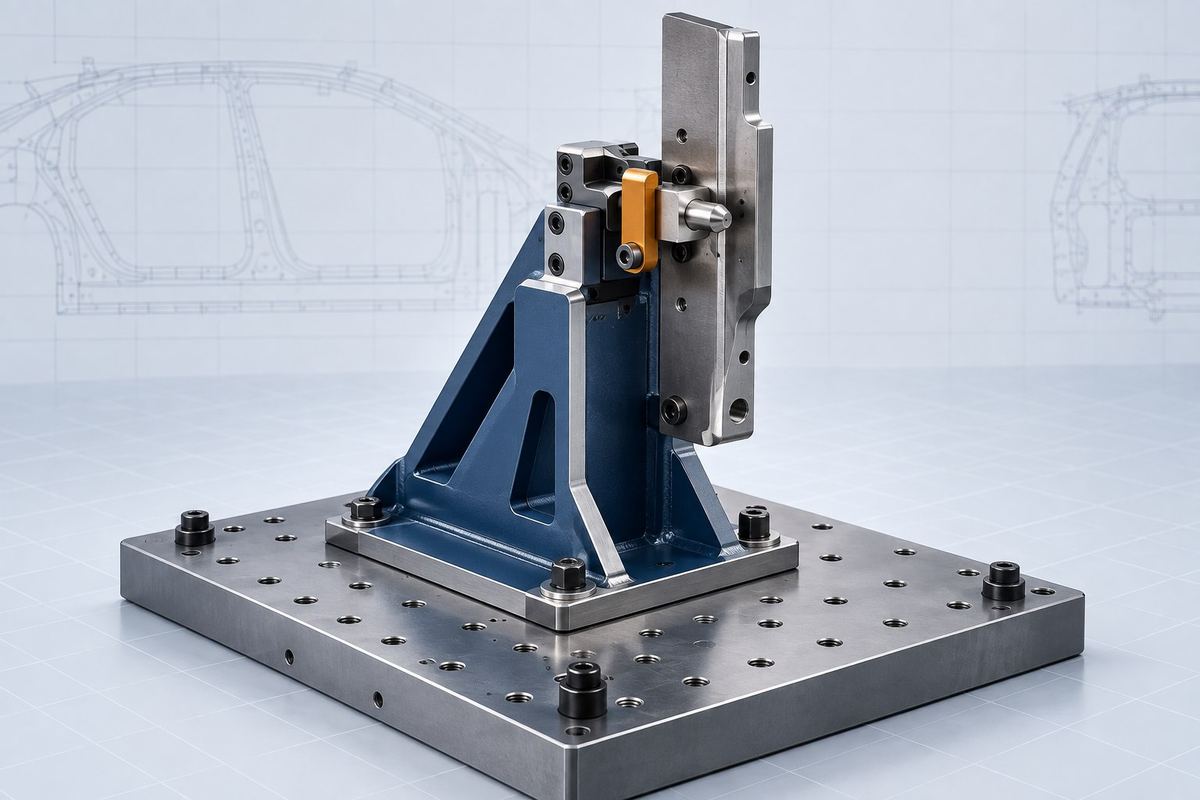
Before designing the arm or selecting a cylinder, identify the panel datum, rest surface and direction in which the panel must be held. The clamp should seat the panel against the intended rest without competing with the locators. This prevents over-constraint and makes the unit easier to adjust during commissioning.
2. Build the functional chain
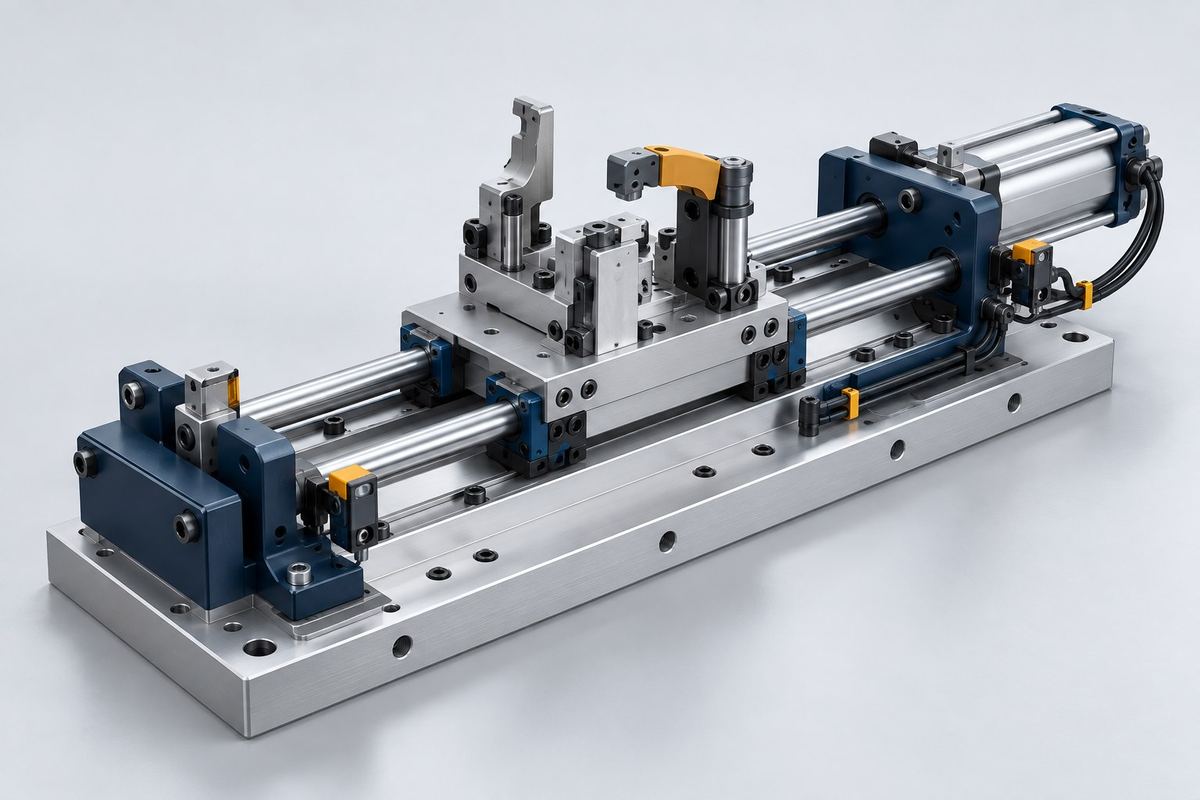
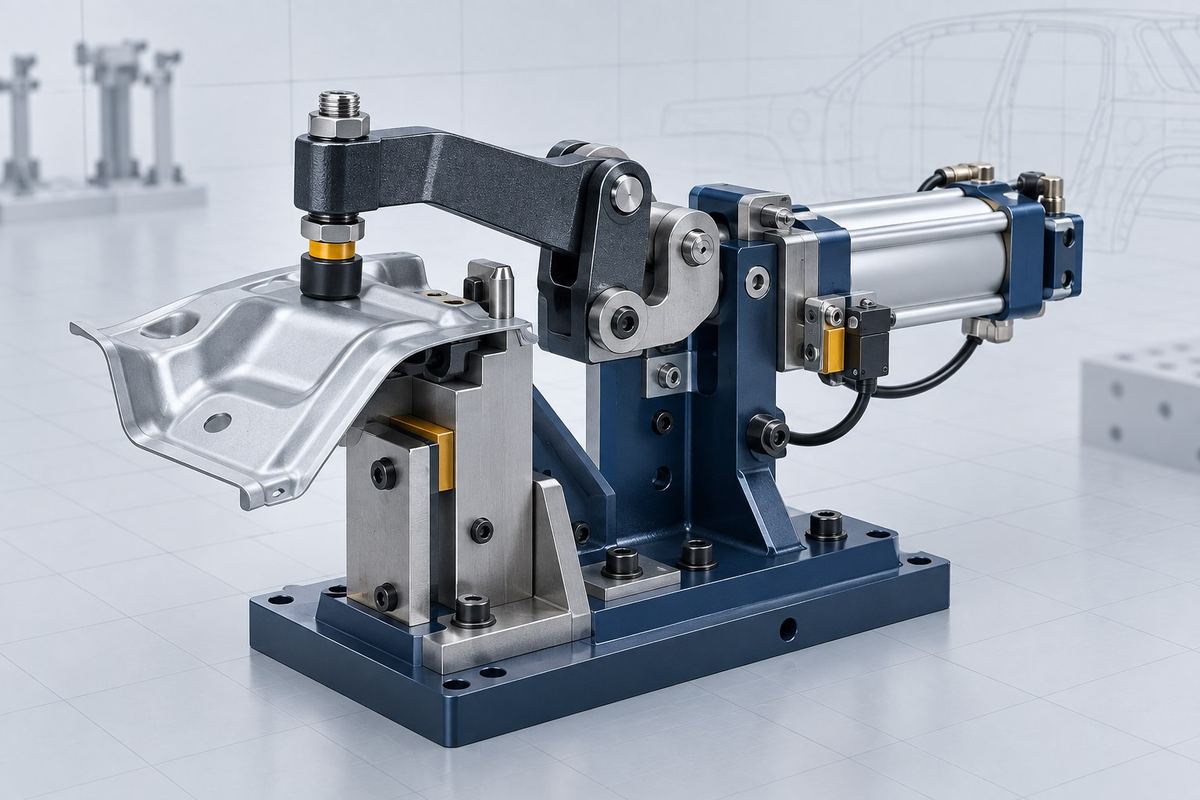
A typical pneumatic clamp unit combines a cylinder, clevis or linkage, pivot, clamp arm, NC block or contact pad, rest block, sensors, shims, mounting blade and standard hardware. Each element should have a clear function and a load path back to the base structure.
3. Check motion, access and interference
Review the arm in fully open, intermediate and closed positions. Confirm panel loading clearance, operator or robot access, weld-gun approach, cylinder stroke, hose routing and safe distance from neighbouring units. A static closed-position check is not enough.
4. Design adjustment and sensing deliberately
Shims should correct build variation in predictable directions. Proximity sensors need rigid brackets, accessible adjustment and protection from weld spatter or accidental contact. The control sequence should distinguish reliable open and closed feedback.
5. Release manufacturing-ready information
The final package should communicate assembly hierarchy, bought-out items, material and finish, hole and slot intent, tolerances, shim packs, open and closed positions and all unit-level drawings. Clear documentation reduces interpretation on the shop floor.